Total Pageviews

Monday, 18 March 2013

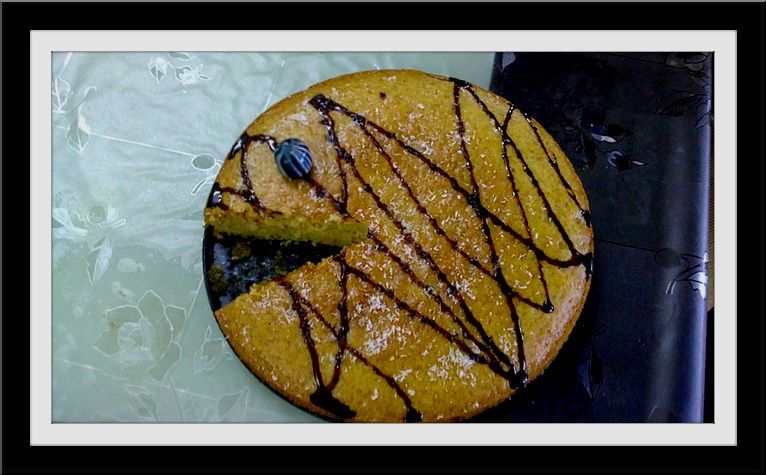
vanilla sponge cake(Eggless & Low calorie)

Ingredients:

1. Maida -  1 & 1/2 cup
2. Yogurt- 1 cup
3. Sugar - 3/4 cup
4. Baking powder - 1 & 1/4 tsp
5. Baking soda - 1/2 tsp
6.Cooking oil- 1/2 cup
7. Vanilla extract - 1 + 1/2 tsp
8.Milk-1-2 tsp

Method:
1.Beat sugar and yogurt until it cream together and add Baking powder and soda to it.
2.Sieve Maida and add it to the above mixture.
3.Now add vanilla extract and cooking oil to it.
4.Grease the pan and pour the batter in it and bake it in a preheated oven at 200c for 10 mins and reduce the temperature to 180 and bake for 30 mins.Brush the top of the cake with milk before the last 10 mins to get a nice brown colour.
4.Decorate as per your wish if needed.

Choco banana cake

Definitely,banana and chocolate is a best combo.It taste and smells so good when it is out from the oven.  .It tasted awesome :)


Recipe source:joy of baking
Ingredients:
Maida-1+3/4 cup
Cocoa powder-3/4 cup
Powdered sugar-2 cups
Baking powder-1 1/2 tsp
Baking soda-1 1/2 tsp
Salt-1/2 tsp
Eggs-2
Vanilla extract-1 tsp
Banana mashed ,pureed -3 medium sized ;1cup
Milk-1/2 cup
Oil-1/2 cup
Warm water -1 cup

Method:

1.Mix together the dry ingredients flour, cocoa powder,sugar,baking powder and soda,salt and set aside.
2.In another bowl whisk together eggs,vanilla extract,banana puree,oil,milk and warm water.
3.Mix together with dry ingredients till you get smoother and lump free batter.
4.Pour the batter into prepared tin and bake for 40-45 mins or till a toothpick inserted into center of cake comes out clean.
4.Decorate by toppings with banana and drizzle chocolate sauce over it with milk choco chips and sprinkles.

Moist chocolate cake

Moist chocolate cake


Ingredients:
2 cups flour
1 cup granulated sugar
1 cup cocoa powder
3 eggs
2 tsp baking powder
1/2 tsp baking soda
3/4 cup vegetable oil/cooking oil
1/2 cup condensed milk
few drops of vanilla essence


Chocolate Whipped cream:
2 cup whipped cream
Milk/Dark choclate - 3oz or 85 gms(chopped)
sugar-2 to 3 tbsp

Method:
1.Sift the flour,cocoa powder,baking powder, baking soda and set aside.
2.Using blender  beat the eggs until fluffy and frothy .Also,beat the sugar until dissolved.
3.Add flour mixture alternate with warm water until complete.
4.Add vanilla extract,condensed milk and oil to it.
5.Bake at preheated oven at 180C for 30 -40 mins until done.

For whipped cream:
-In a thick span boil the cream along with the sugar.
-Then take  bowl add the chopped chocolate and the boiling cream and mix well using a whisk.
Let it cool to room temperature and then refrigerate.(4-8 hrs)or overnight.
If you have refrigerated it for only 4 hours,it is better to whip it using an ice-bath otherwise,beat the cream well using a hand held mixer until it starts forming soft peaks.
Keep refrigerated until use.


-Cut the cake into 2 slices and  apply whipped cream and cover the whole cake using whipped cream.
-Then decorate as per you like.I used chocolate sauce to make spider web design.


Marzipan Birthday cake

I like Marzipan than Fondant cakes.Fondant is not advised to eat also.Yes,Fondant is definitely better for cake decorations but taste wise many dislike it . Marzipan is tasty and it taste like the Kaju barfi and  almond barfi we get from sweets shop.

 This cake I made for my mom's birthday. Happy birthday Mom :)


Ingredients:
Basic Birthday cake :Recipe here

Marzipan 

1.Almonds-200 gms(blanched)

2.Icing/Confectioner's sugar- 200 gms

3.1/2 cup sugar syrup

4.1 tsp vanilla essence or 1 tsp Almond essence or 1 tsp vanilla +rosewater essence

Method:
Blanching process:
1.Drop the almonds in the hot boiling water for a minute.Drain the water and then pinch the skin off the nuts.
2.Dry the almonds for sometime.

Almond paste(Marzipan)
1.Blend the dried almonds in a food processor until coarsely grounded.
2.Now add about 1/4 cup of icing sugar to it and blend again.You can actually blend it till you get a smooth powder and make sure you don't over grind it as it starts releasing its oil. But, I prefer being little oily as it is easy to work with .
3.Sieve the blended almonds so as to remove the granules and get a fine texture.
4.Now add the essence/extract to it and some sugar syrup enough to form a  soft dough.If it forms sticky,add icing sugar to make a soft dough.
5.Wrap this in a plastic ziplock bag or cover with cling film and store it in refrigerator for a month or in freezer for indefinite period of time.

Note:
-Marzipan dries quickly so make sure you cover it with plastic while you also working with it.
-Do not use entire half cup of sugar syrup because i just used only 2 to 4 tbsp to make a dough with this recipe.

Adding colours to marzipan:
If you want,you can add colours to the Marzipan by either using gel paste or liquid food coloring


To cover the cake:
-Dust the work surface with icing sugar and roll the dough in whatever size you want to cover the cake.
- Heat apricot or mixed fruit jam  in microwave for 30 secs ;Apply this all over the cake completely.
-Now take the rolled Marzipan and cover the cake .Trim the left out marzipan.


You can also make this as diwali sweets .Below are some of the ideas

Variations and Flavours in Marzipan:

Orange flavoured  Marzipan:

 1 . Marzipan or Almond paste (above recipe)
2. Grated Zest of 4 oranges
3. 2 tsp orange essence
4.drop of orange food coloring

Knead the almond paste with the above ingredients.

Rose flavoured Marzipan:
1.Marzipan or almond paste
2.  2 tsp rose water essence
3. Natural beetroot juice coloring or red food coloring

Pistachio flavoured marzipan:
1. Replace  replace 1/2 cup of the almonds with 1/2 cup unsalted pistachio nuts.
2. Put the pistachios in a preheated 180c oven for about 10 minutes to dry and loosen the skins;
3.Then remove the skins of the pistachio.
4. Blend the  the pistachio nuts with the almonds in the food processor.
5.Repeat the same procedure of doing marzipan.
6.Add few drops of  green colour to it.


Friday, 15 March 2013

Cake pops

What do I do with my leftover cakes ?Yes there  is a solution , You can make Cake pops out of it.Cake pops is a cake lollipop made out of cake crumbs mixed together with melted chocolate.

                                                  Cake pops(sorry the picture is blurred)


Approximate measurements:
Ingredients:
1.Leftover cake of your choice OR Sponge cake recipe

Icing:
Butter -110 gms
Icing sugar -1 to 2 cup according to the consistency of icing
Vanilla essence-1/2 tsp
Milk-1 to 2 tbsp (dep. upon consistency)

For coating:
-Slab of Melting/cooking chocolate
-Sugar ball sprinkles

-Crumble the leftover cake using your hands.
-Now put a dollop of Icing in the cake and mix it together.Make sure that you get the consistency to make a lemon sized ball out of this mixture.
-Now after making the balls keep it in freezer for 5 to 10 minutes.
-Meanwhile,take the melting chocolate and microwave for 30 seconds-1 minutes stirring in between 20 seconds until the chocolate has melted and don' t let it burn.Be careful. (OR) you can melt the chocolate by using double boiling method.Keep a pan in stove with some water require to immerse another bowl on it,and chop the chocolate into pieces and put in the double boiler and melt it.This is a safe one compared to microwave method.
-Now,take the balls from the refrigerator and dip each ball in the melted chocolate and sprinkle the sugar balls on top of it and place it in a butter paper.
-Similarly,complete the rest of the balls and place it in refrigerator until set.
-You can use go innovative on decorations.You can use white chocolate milk chocolate dark chocolate for coating of the ball.

Thursday, 14 March 2013

Basic birthday cake recipe

Adapted from Joyofbaking.com
Stephanie Jaworski's recipe


Vanilla Cake Recipe: (Makes 2 -9" cake)

3 cups (345 grams) sifted all purpose flour
1 tablespoon baking powder
1/2 teaspoon salt
1 cup (226 grams) unsalted butter, room temperature
1 3/4 cups (350 grams) granulated white sugar
4 large eggs, at room temperature
2 teaspoons pure vanilla extract
1 cup (240 ml) room temperature milk

Confectioners' Frosting:

4 cups Icing sugar,Sifted
1 cup (226) grams unsalted butter,room temperature
1 tsp vanilla extract
2-4 tbsp milk
Liquid colour (if required)
Method:

1. Cream together butter and sugar using hand blender.

2. Now add the eggs, and beat one at a time until light and fluffy
3. Add the vanilla extract to it.
4.Mix the sifted flour,baking powder,salt  in another bowl.
5.Now add the flour mixture alternating with milk and flour gradually till the end.
6.Grease a baking tray.
7.Pour the batter and bake it in a preheated oven at 180 degrees for 30 mins.
8.Check if it is done by inserting a toothpick at the center of the cake.
9.Cool the cake completely before frosting.

Tips:(If you do not have a hand blender)

1. Use a whisk to mix for a easy and better results .
2.While you mix , Do it only in one direction.


For frosting:

1.Cream the butter using hand blender.Then add,Vanilla extract.
2.Add the icing sugar gradually and add the milk to get the right consistency
3.If required, colour the frosting with liquid colour or gel paste .

Assemble the cake:

1.Place one cake layer (bottom side facing up) on your serving plate and spread with about 3/4 cup (180 ml) of frosting. 
2. Place the other cake layer (bottom side facing up) on top of the frosting and cover the entire cake with the remaining frosting. 
3.You can also pipe into a decorative borders and decorate it with sprinkles...
Tender coconut pudding/Elaneer pudding

Elaneer pudding is a really a nice dessert after a meal. The name of the dish itself sounds refreshing .Give it a try and you will definitely enjoy :)


Ingredients:

Gelatin-3 to 5 tsp .(I used 3 tsp because I wanted it as shown in the picture -Soft)
Hot water -1 cup (For soaking the gelatin)
Tender coconut - 2 (water & pulp).
Condensed milk-1/2 tin -1 tin (I had only little pulp and coconut water so adjust accordingly)
Milk-1 cup
Sugar -adjust according to your taste

Method:
1. Blend the tender coconut water and one of the pulp together and keep it aside.
2. Chop the other pulp into fine pieces and keep aside.
3.Soak the gelatin in hot water for 5 minutes and give it a nice stir ,so that it does not form any lumps.
4.Now heat the milk in a pan.Add condensed milk stirring continuously
5.Add sugar and stir till it gets dissolved.
6.Then add the blended tender coconut water.
7.Add gelatin mixture to it.
8.Lastly,add the finely chopped pulp to it.
9.Cool it completely,pour in a jelly mould and leave it to set in refrigerator for 4-6 hours.

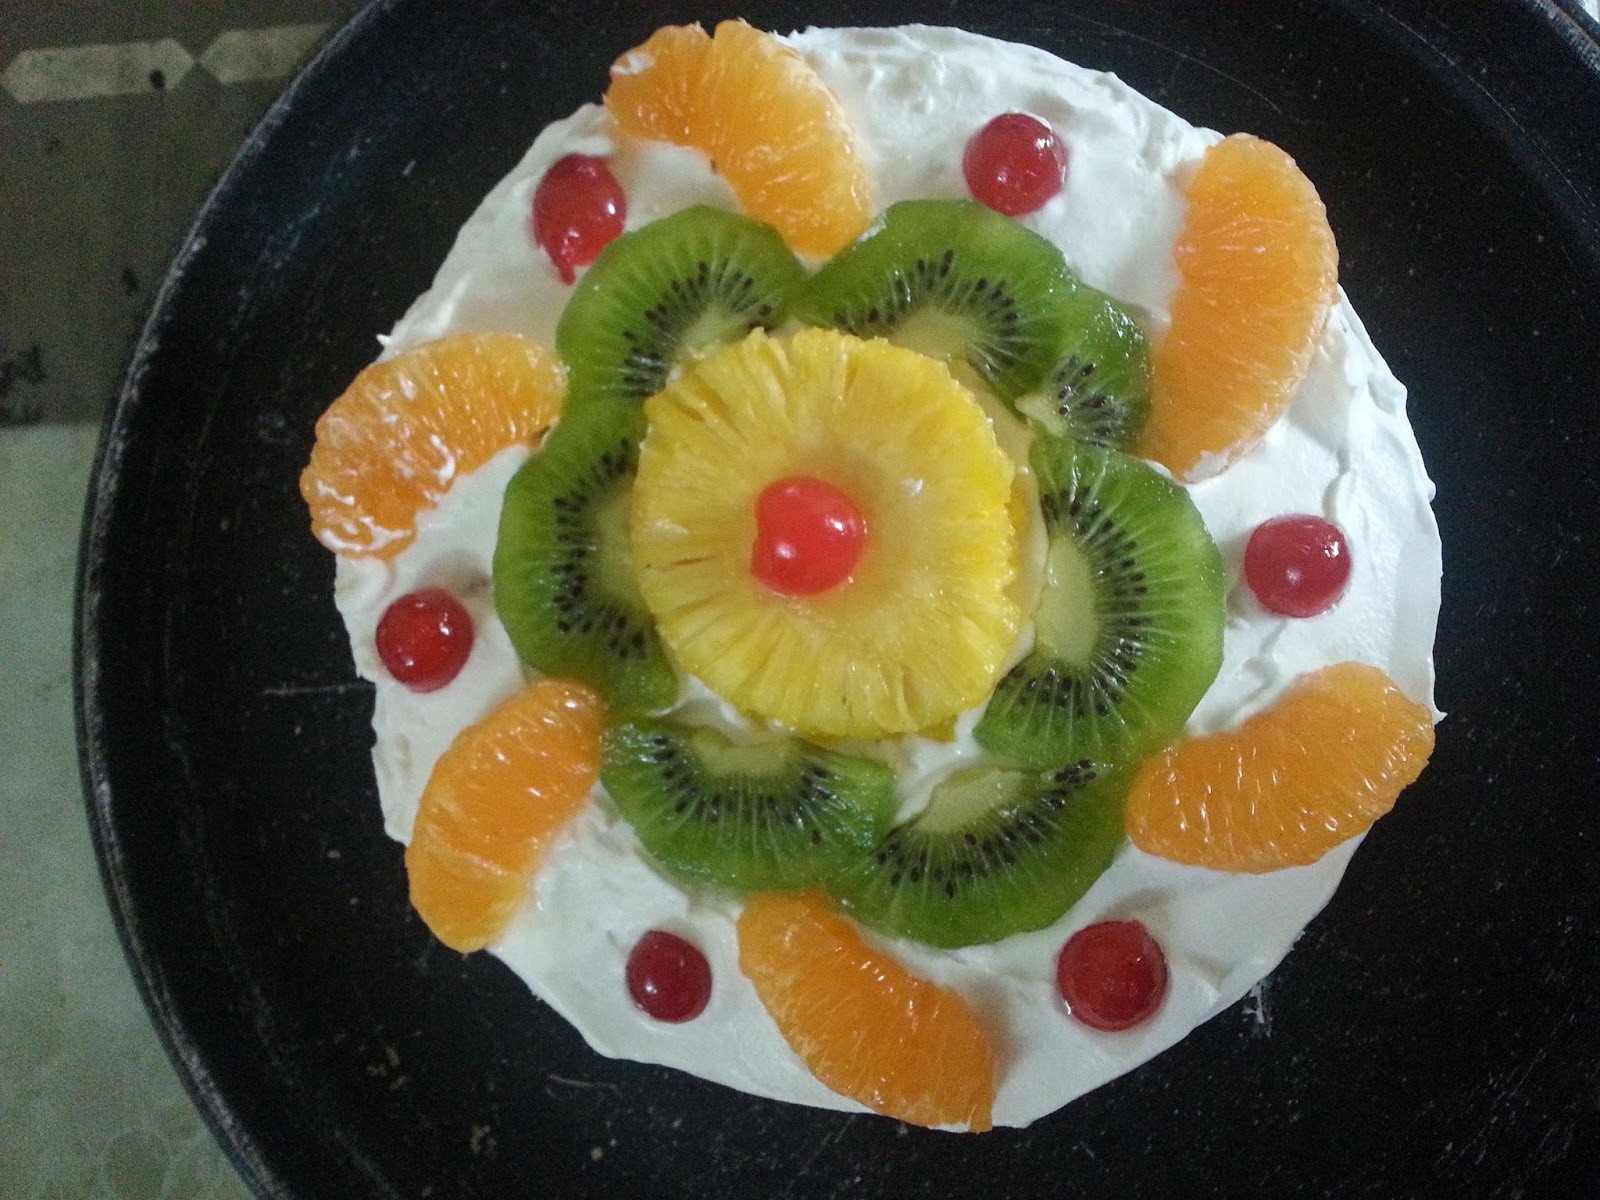
Fresh Cream fruit cake


Yummy fresh cream fruit cake. It really tasted so good . My brother love this cake :)

Ingredients:(Makes 2 -9" round cake gateau)

For sponge Cake: (Egg less version)

 Maida/APF  -2 Cups
 Condensed milk - 1 tin
100 gms of butter (room temperature)
 milk   -1 cup
1 1/2 tsp Baking powder
1 1/2 tsp Baking soda
2 tsp vanilla essence or 1tsp vanilla essence + 1 tsp mixed fruit essence
Sugar -1 to 2 tbsp .(according to taste because u've already added condensed milk)
Pinch of salt

OR

Basic Sponge cake ( Sanjeev kapoor) :

Maida - 1 cup
Butter   -  1/4 cups or 50 gms
Eggs - 4
Sugar -1/2 cups + 2 tbsp
Vanilla essence - 1 tsp

For Icing:
4 cups whipping cream
1 cup icing sugar
1/2 tsp of vanilla essence

Filling/Topping

Delmonte fiesta fruit cocktail (Or you can also use finely chopped cut fruits) - 1 can
Maraschino cherries or Sugar syrup soaked Karonda (Indian cherries) -Finely  chopped
Sugar syrup or Syrup from Delmonte fruit cocktail can be used
Some fresh fruits to decorate on top

Method:
For cake 1 :(Egg less version)
-Preheat the oven  to 180 deg
-Sieve B.powder,B.soda and flour together.
-First , Cream the butter, sugar using hand blender .Then add the Condensed milk and vanilla essence.Beat it once again.
-Now,add the flour and fold it carefully by adding milk until you get a  consistency of batter.
-Grease the baking tray and pour the batter into it.Bake it for 30 mins or bake until done.
- Insert the toothpick in the cake and check if it comes out clean.
-Cool it completely before you start frosting the cake.

For cake 2 :
  • Preheat the oven to 180 deg. 
  • Melt the butter and set it aside to cool. 
  • Beat together the eggs, sugar and vanilla essence till light and creamy. 
  • Gradually fold in the flour, stirring with a light hand only in one direction
  • Stir in the melted butter. 
  • Pour the batter into the prepared tin and bake for twenty-five to thirty minutes, till well risen and golden brown on top. Turn out onto a wire rack and leave to cool completely. 

Icing preparation:
1.Put your preparation bowl,hand blender rods in the freezer for sometime.
2. Pour your whipped cream in the prepared bowl and place some ice cubes under the bowl.
3.Now start beating the cream in low speed.Add vanilla essence to it.
4.After 5 to 6 mins start adding the icing sugar gradually.
5.Also,increase the speed from low to high gradually.
6.Now to check whether your whipped cream is ready ,Invert your bowl slowly and see whether it is in right consistency. The cream should not be in flowy consistency.

Assemble the cake:
-Separate the delmonte fruits from the syrup and finely chop the fruits and keep it aside.
-Finely ,cut the karonda or cherries an keep it aside.
 -Once the sponge cake has cooled, carefully slice it into two halves.
- Keep the bottom half on the serving plate and moisten with sugar syrup or delmonte syrup until the entire cake is soaked with it. 
-Spread a little cream over the cake and top with finely cut pieces of fruits and cherries.
-Carefully place the other sponge over the prepared cake and moisten again with the syrup until the top half is soaked with it.
-Spread the cream over the sides and top of the cake with a spatula 
-Now decorate with fruits of your choice
-Chill for 2 to 4 hours before you serve.

Friday, 1 March 2013

Oreo Ice cream cake

Oreo Ice cream cake is truly worth a try. Oreolicious!!!!


Oreo Ice cream cake
Oreo Ice cream cake

Ingredients :
Oreo Packets- 4 (Vanilla, Chocolate)
Vanilla Icecream tub-1
Chocolate sponge cake -Sliced or depending on size of your cake tin
Chocolate Syrup
Butterscotch Granules (optional)
Chocolate chip /chocolate vermicelli(optional)

Method:

1.  Take a spring foam pan or cake tin and cling wrap the sides of the pan .
2. Split the oreo cookies and place in the sides and bottom of the pan.
3. Crush the rest of the oreo with the help of rolling pin and ziplock bag.
4. Meanwhile , soften the ice cream by either keeping at room temperature or defrost in microwave for 30 seconds.
5. Now add the crushed cookies to the icecream and mix it.
6.Layer half the icecream first and sprinkle some butterscotch granules ,chocolate chips and chocolate sauce over it.
7.Next place the chocolate cake over it and finish the layer with icecream .
8.Crush some more oreo cookies and sprinkle with chocolate vermicelli and finish off.
9. Refrigerate until set and then serve.

Coconut mice

I had some leftover Bread crumbs after making cutlets for my Cousin's birthday .Thought , i will make use of it and I saw this recipe in a website which originally uses  grated coconut and condensed milk.So,I gave a small twist to the recipe by using Breadcrumbs , Dessicated coconut , condensed milk.Here is the recipe .Kids would love it :)

Coconut mice

Coconut mice

Coconut mice

Ingredients :(Approx)
1. Breadcrumbs -2 cups
2. Condensed milk - 1/2 tin or vary according to the consistency
3. Dessicated coconut or grated coconut - 1 cup + for upper coat
4.Almonds - 4 Almonds ,Halved
5.Cherry-Use the top part to resemble as a nose
6. Chocolate chips for eyes

Method:
1 .Mix the breadcrumbs , condensed milk , grated coconut in a bowl  and knead into a dough .
2. Divide into portions.Take a portion and keep it in between your two hands and bring it to a shape of mice.
3.Now dust or coat it with dessicated coconut .
4.Now fix the eyes ,ears and Nose as shown in the picture.
5. Refrigerate for an hour and serve .

Thursday, 28 February 2013

Food plating and presentation

From my perspective food plating and presentation is really important .We first,eat through our eyes only after it follows the smell and the taste . So ,make sure your plate  look delicious too ....
Some of the plating techniques I have read through :
1. Give colours to your plate  gives life to your plate - Plated food should have balnced and contrasting colours.
2. Give different textures : Pair the food with smoother texture (ex:Sauce) to Harder or coarser texture (ex :Pasta)
3 .Using shapes & proportions appropriately : Main dish or main component in the plate should be the largest on the plate and should draw attention over it than the other accompaniments .
4.Arrangement View : The plated food should have a natural focal point and should draw attention to the needful in the plate .
5.Use appropriate plates & bowls.

These are few tips and tricks for Presentation of your food . I am exploring some presentation techniques and once mastered will get back soon.

Tropical fruit island
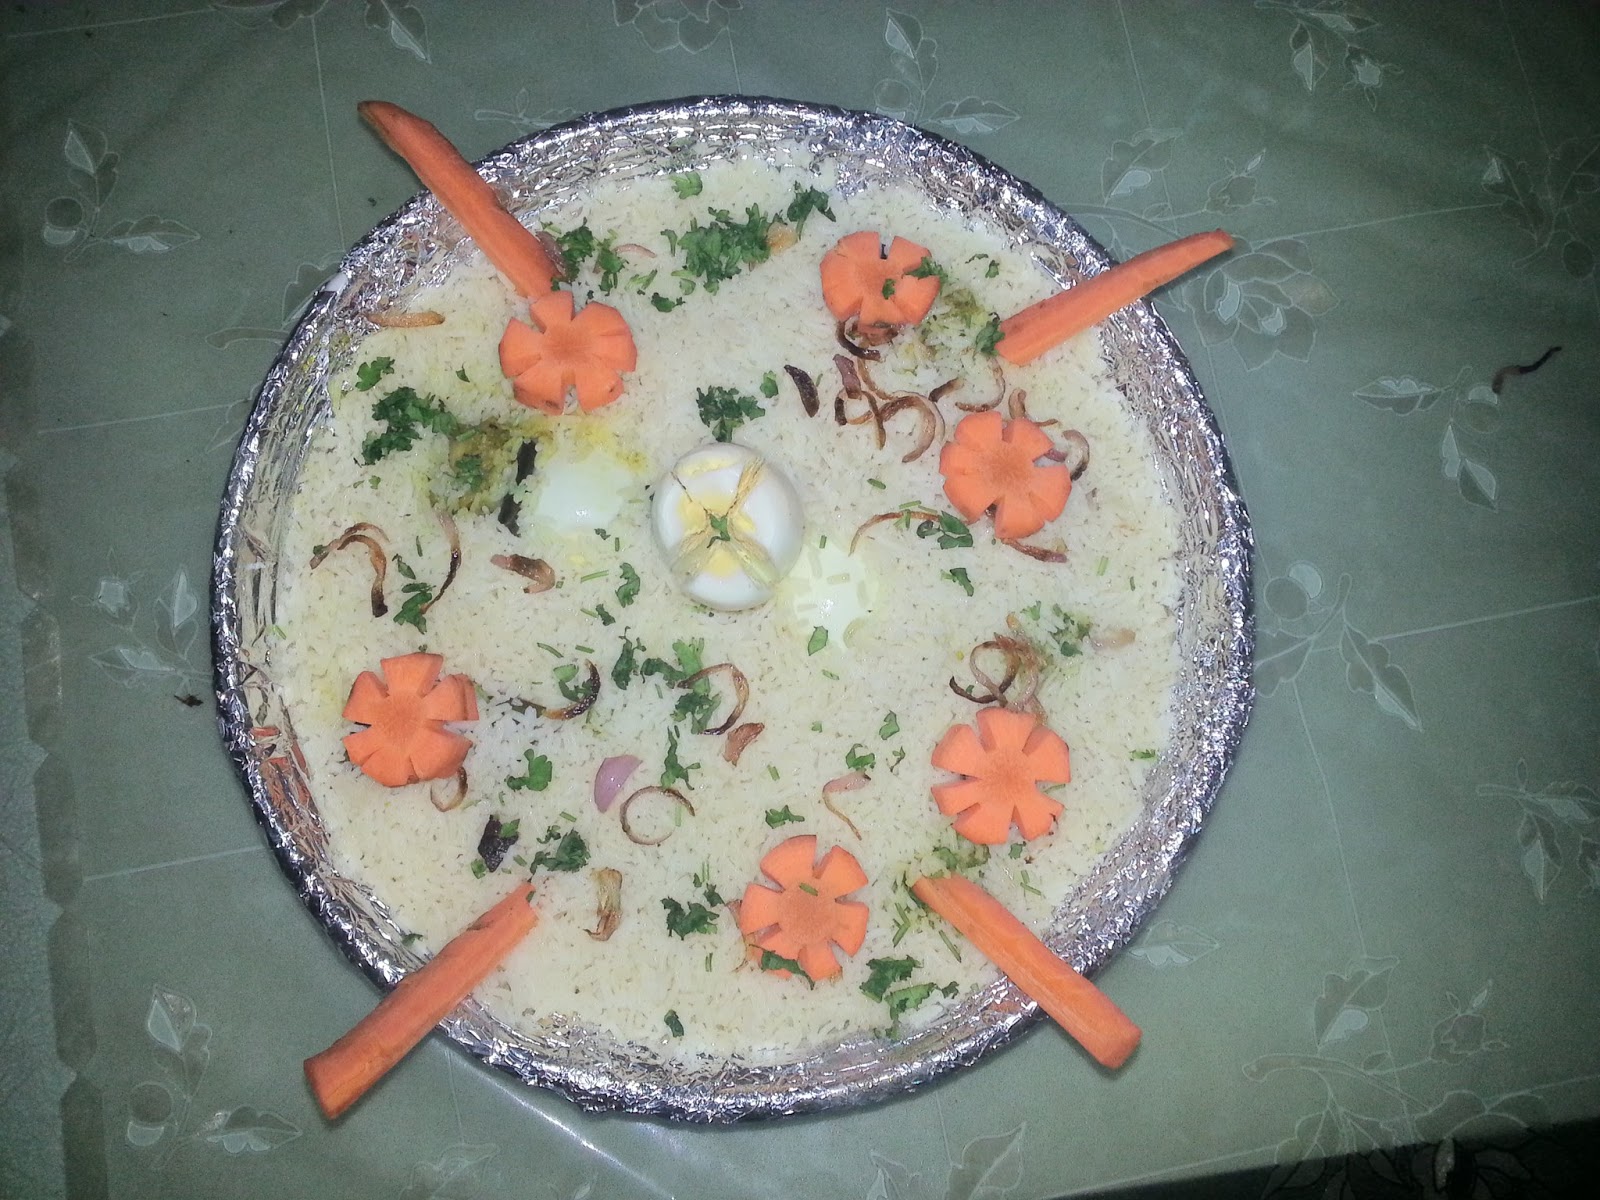
Biryani
Fruit Kebabs
Veg Salad

My Signature Dish : Kozhikode chicken biryani

Kozhikode chicken biryani-1


Kozhikode Chicken Biryani-2
 

 Ingredients:

For Rice:
Seeraga samba rice/Basmati rice -250 gm (Soaked for 15 mins if samba rice and 1/2 to 1 hr for basmati)
Ghee/Clarified butter - 1 to 2 tbsp
Cinnamon - 5 to 6 pcs
Bay leaf- 1 no
Star Anise -1 no
Cloves-4 to 5 nos
Cardamom seeds - 4 to 5 nos
Chopped onion -1 (medium to large)
Curry leaves/Coriander leaves -few
Biryani Essence/Rose water - 3 to 4 drops

Chicken Marination:(Grind)
Chicken - 1/2 kg
Curd/Yoghurt -1/2 cup
Coriander leaves- 25 gm
Mint leaves - 25 gm
Curry leaves -few
Cumin seeds - 1/2 tsp
Coriander seeds powder - 1tsp
Garlic - 20 gm
Ginger- 2 tsp
Turmeric powder - 1/2 tsp
Lime juice - 1tsp
Poppy seeds paste - 1 tsp

For Biryani masala :
Ghee - 1 to 2 tbsp (Substitute with 1 tsp oil+ 1 tsp ghee)
Cinnamon - 5-6 nos
Bay leaf- 1 no
Cloves - 4-5 nos
Cardamom seeds - 4 to 5 nos
Nutmeg - 1 no (Grated using grater)
Onions-100 gm
Tomato chopped - 1 no

For Garnishing:
Boiled egg
Roasted Cashewnuts & Raisins
Fried onions
Chopped coriander leaves

Method:
1 . Grind the coriander, mint leaves , Garlic, Ginger ,curry leaves , cumin seeds , coriander seeds powder ,Turmeric powder and poppy seeds .You can add little amount of curd to grind it in to a paste.Now mix the paste with curd and lime juice and marinate the chicken and keep it for an hr.


For Rice:
Stove-top method:
1.  Heat ghee in a pan add cinnamon , cardamom seeds , cloves , bay leaf ,Star anise , nutmeg and     curry/coriander leaves  .
2. Then add onions and saute till they become translucent .
3 . Add water and bring it to boil.Add biryani/rose water essence to it.
4. Now add the soaked rice and cook till its done.

Microwave method:
1. Heat ghee in microwave safe bowl and add cinnamon , cardamom seeds , cloves , bay leaf ,Star anise , nutmeg and curry./coriander leaves  and keep it for a min on high.
2.Add onions to it and keep high for 2 to 3 mins.The time varies depending on your microwave.
3.Now add water to it .I added 4 cups of water for 2 cups of Rice. Add  biryani/rose water essence to it. Do not cover the bowl as it would drain of the water quickly leaving the rice uncooked.
4 . It took about 15 to 20 mins to cook in my microwave.

For Biryani Masala :
1. Meanwhile,till the rice gets cooked  , heat ghee in a pan  add cinammon , bay leaf , cardamom seeds , nutmeg , cloves and saute for a min.Now add chopped onions and saute till brown .Then add choped tomatoes and saute .
2. Add the marinated chicken in it and cook until it has become a semi gravy consistency .

Layering process :
1. Layer the rice and chicken masala alternatively .

Dum process:
Ready for dum(cover it with cling film)

Eventhough , the original recipe never called for the dum process ,I prefer to keep biryani in dum before serving it to enhance the flavours.
There are several ways of dum process but I prefer easy way to microwave.

--Take a microwave safe dish and layer the biryani with rice and chicken masala . Wrap the bowl with the cling film and microwave for 45 mins on high.
-Remove the dish from microwave.Let it stand for a minute.
-Garnish with Chopped cilantro , Raisins, cashewnuts and fried onions.

Note:
1. You can clean and marinate the chicken with Lime juice and ginger garlic paste prior to grinding and omit these in the process .
2 .Biryani tastes good when you marinate the chicken overnight before but make sure you add only little of lime juice and yoghurt  because it might be tangy  if you add the whole.